How to Create a Staff Rota Online
How to Create a Staff Rota Online: The Definitive Guide to AI-Powered Scheduling
Stop wrestling with spreadsheets and learn how to build, optimize, and publish a compliance-proof staff rota online in seconds.
Staff Scheduling Workforce Management AI in Business Rota App Small Business
If you have ever managed a retail store, a bustling restaurant, or a busy care facility, you already know the sinking feeling of a Sunday evening spent staring at an Excel grid. It is a puzzle where the pieces keep changing shape—availability requests clash, someone calls in sick, labor laws get ignored, and suddenly you have blown your labor budget before the doors even open.
Creating a staff rota online has evolved from simply dragging blocks on a shared screen to letting intelligent platforms build compliance-proof, optimized schedules in seconds. Modern web tools don't just act as digital graph paper; they check worker preferences, predict labor expenses, allow instant peer-to-peer swaps, and send instant alerts to your team. Let's look at how the shift planning market looks in 2026, profiling the leading platforms, and walk through exactly how to set up an automated system for your workforce.
If you have ever managed a busy retail shop, a lively restaurant, or a healthcare facility, you know the Sunday evening headache of manual shift planning. Staring at an Excel sheet trying to match employee availability, holiday requests, labor laws, and labor budgets is like playing a game of Tetris where the blocks constantly change shape.
Fortunately, workforce management has evolved. Modern online tools let you move away from manual "digital graph paper" and let smart automation systems do the heavy lifting. In this guide, we will walk you through the entire end-to-end process of setting up a clean, optimised, and automated staff schedule using RotaApp.uk—reducing hours of admin work into a single click.
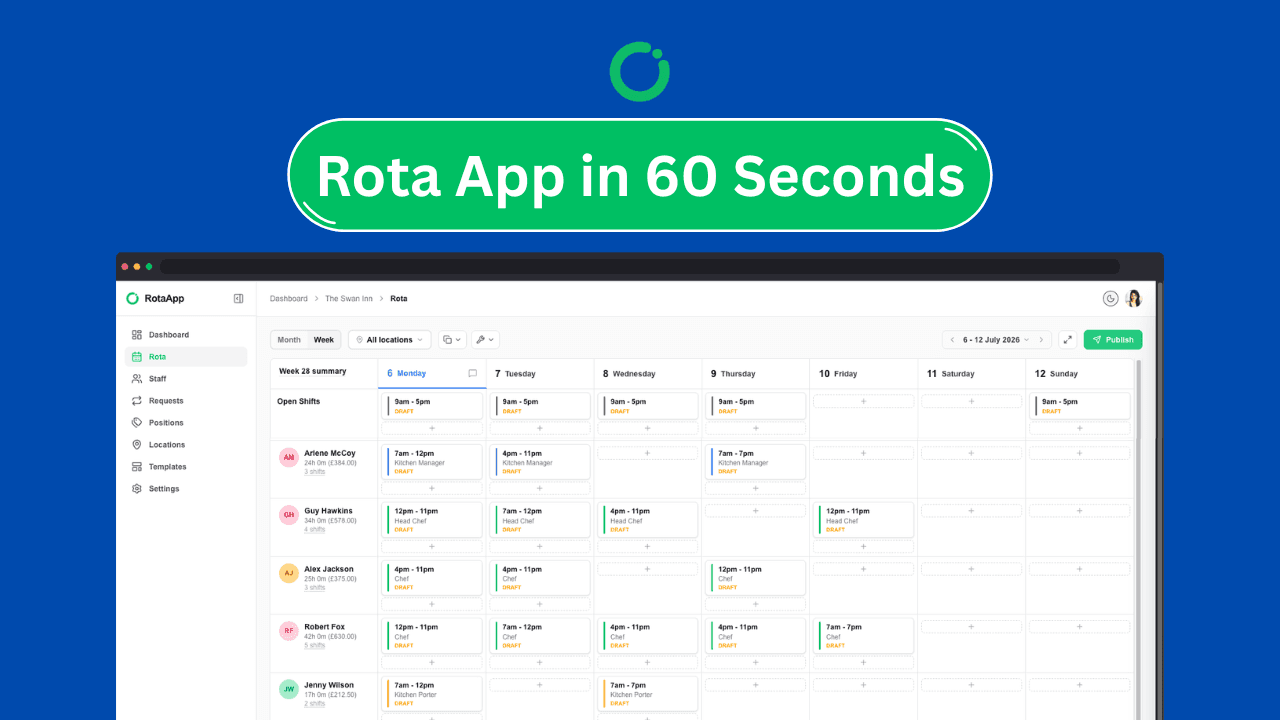
Note: If you want a visual walk-through of this entire workflow, refer to the video embedded at the top of this article!
Step 1: Set Up Your Organisation and Workspace
The first step is to visit RotaApp.uk. From there, click on the login button and sign in using your preferred method. The platform supports instant single-sign-on (SSO) using your Google or LinkedIn accounts. If you don't use either service, you can log in securely by entering your email address to receive an instant One-Time Password (OTP).
If this is your first time logging in, you will be prompted to create your organization. The system is built to cater to multiple business types. Select your industry—such as Restaurant & Hospitality, Care Home, Hospital/Medical, Retail, Warehouse, or Cleaning Services. For this walkthrough, we will select a retail setup with multiple locations and a team size of 51 to 200 staff members, naming our organization "Larissa Diamond Forever".
Pro Tip: When setting up your account for the first time, check the box that says "Yes, show me a demo." This will automatically populate your dashboard with realistic mock employees, colored shift patterns, and custom roles. It is the easiest way to see exactly how the platform works before inputting your real business data.
Step 2: Set Your Local Time, Currency, and Language
Before entering staff records, align the platform with your local currency and time zone. In the organization settings, select your country (such as the United Kingdom) and currency (such as GBP). This ensures your timesheets and overall labor cost projections calculate correctly.
One of the most powerful aspects of modern teams is diversity. RotaApp.uk features dynamic, real-time interface translation. If you manage an international workforce, team members can toggle the entire interface between English, Spanish, French, and Portuguese dynamically without breaking any of the underlying schedules or shift records.
Step 3: Structure Your Team Roles and Employee Profiles
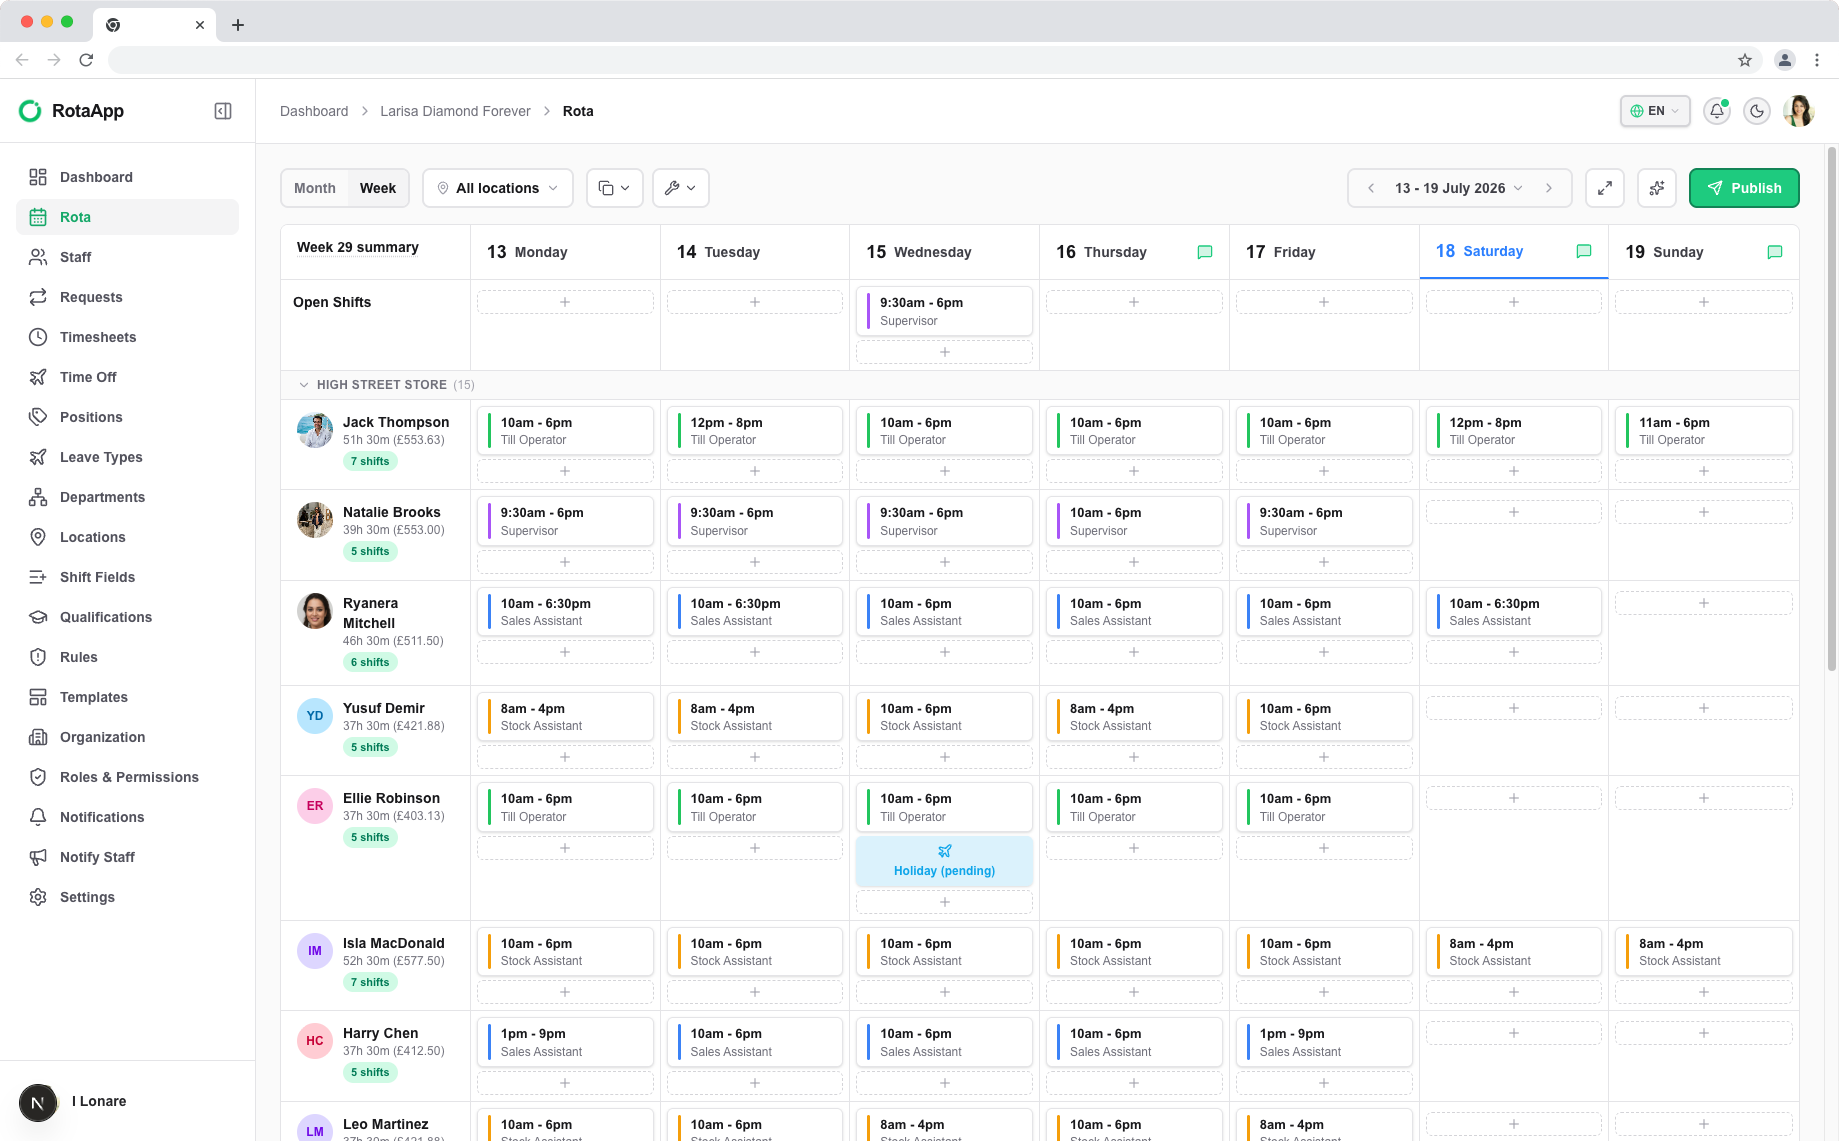
To let automation do the work, you must define the different jobs within your business. In the settings, create distinct, color-coded functional "Positions" (like Supervisor, Sales Assistant, Stock Assistant, and Till Operator) and assign distinct hex colors to make your calendar easily scannable on mobile screens.
Now, head to the Staff section to add your team members. You have two choices here:
Manual Entry: Ideal for adding new hires one by one. You can upload an employee profile photo, assign their hourly pay rate, input their contact details, and tag their qualifications.
Bulk CSV Import: Best for initial setups. You can download the platform's sample CSV template, match your staff data, and upload your entire workforce database in seconds.
Setting accurate hourly pay rates is incredibly useful because it allows the system to calculate active operating payroll expenses automatically as you build your schedule.
Step 4: Customise Your Shift Fields
Every business runs differently. A standard "9 to 5" block doesn't tell a mobile cleaning worker or a field delivery agent where they need to go. Under the organizational settings, you can add "Shift Fields" to customize your shift cards with specific operational data.
For example, if you run a service business, you can add custom fields for "Customer Name," "Customer Address," and "Customer Contact Number." Once saved, these extra fields instantly appear inside every shift block you edit, allowing you to pass structured, secure details directly to your employees' mobile screens without cluttering the master calendar calendar.
Step 5: Configure Compliance Rules and Shift Swap Modes
To avoid compliance issues and staff shortages, configure your scheduling boundaries under the Rules section. You can set maximum weekly hours, require rest intervals between shifts (e.g., an 11-hour gap), and restrict specific supervisory roles to qualified personnel only. If you or the AI try to schedule someone against these parameters, the system will flag the conflict and block publication.
Next, define how you want to handle schedule adjustments. The platform supports three flexible shift-swapping modes:
Manager Approval: Employees request swaps through the mobile app, but they do not take effect until you click "approve" on your dashboard.
Peer-to-Peer: Qualified employees can trade shifts directly among themselves without needing manager intervention.
Open Shift Pool: Employees drop unwanted shifts into a communal pool, allowing any available, qualified colleague to claim them.
Step 6: Build Reusable Shift Templates
Don't waste time typing out recurring shifts week after week. Use the Template feature to define your standard operational requirements. You can create a master "Retail Template" containing your target shift times for each position and store location.
Adding shifts is incredibly simple. For instance, you can define a "9 to 5 Till Operator" block for Monday, select the entire week, and click "add." The platform instantly generates seven repeating open shifts across the template calendar, saving you from repetitive copy-pasting.
Step 7: Run the AI Generator to Build Your Schedule
Now comes the exciting part: generating your actual schedule. Navigate to the upcoming blank week on your workspace calendar. Group your view by "positions" or "locations" to see exactly where your coverage stands.
Click the AI action button at the top of the interface, select your pre-configured shift template, choose your target store location, and send the prompt to the AI. The system immediately analyzes employee availabilities, hourly rates, and compliance rules to match the right people to the right slots. Within seconds, the platform will present a summary—such as "generating 85+ shifts"—for your confirmation. Click confirm, and your entire weekly roster is complete.
Step 8: Review, Publish, and Print
With the AI schedule built, take a moment to review the grid. If an employee has called in sick or requested sudden time off, you can use the simple drag-and-drop interface to move shift cards between team members or calendar days. You can also add notes to specific days (like "Sunday Off" or "Peak Trading Hour") to keep your team informed.
Once everything looks perfect, click "Publish." This instantly distributes push notifications, email alerts, or WhatsApp updates to your staff. If you have team members who prefer a physical backup, click the print icon to export a clean, high-contrast PDF. You can pin this directly to the breakroom notice board so everyone stays on the same page.
Frequently Asked Questions
How does pricing adjust if my business scales up or down?
RotaApp.uk utilises a simple pay-as-you-go model at a flat £3 per user per month. There are no mandatory base fees or platform minimum spends. If you hire seasonal staff for summer peaks and reduce headcounts afterward, simply toggle the inactive profiles to "suspended" or "removed," and your monthly bill adjusts dynamically to match only your active headcount.
Can I manage multiple storefronts under a single admin account?
Yes. The platform natively supports multi-site organizations. Managers can toggle between distinct retail storefronts, restaurants, or regional offices via a central dropdown selector. This keeps localized calendars perfectly organized while allowing upper management to view unified timesheets, holiday requests, and labor expenses from a single screen.
What happens if the AI assigns a shift that violates labor laws?
The system's rules engine acts as an absolute compliance override. If an AI generation sweep accidentally schedules an employee beyond their maximum hours or breaches a mandatory rest window, the system halts, flags the conflict block with an alert, and prompts the manager to resolve the overlap manually.
Summary & Next Steps
Moving your business scheduling online is one of the easiest ways to recover hours of lost admin time each week. By following this step-by-step workflow, you can move away from old paper files and let automated AI scheduling do the work for you. Head over to RotaApp.uk to start a 30-day free trial, play around with the mock demo database, and build your first automated schedule today.
What is the biggest scheduling headache your business is currently facing? Leave a comment below, and let us know if you have any questions about transitioning your staff to an online roster!